
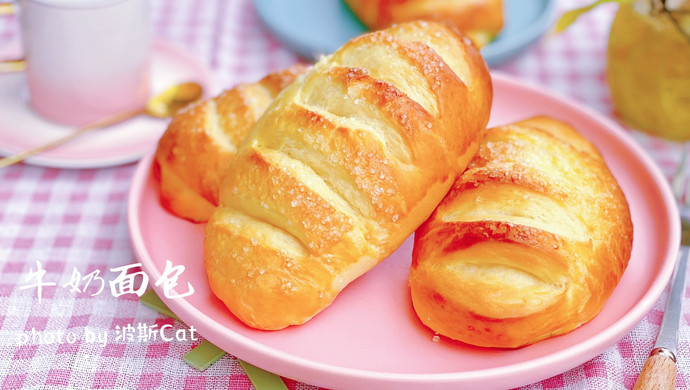
French milk bread, as the name suggests, is made with a generous amount of milk, resulting in a fine texture and soft mouthfeel. This bread is made from simple ingredients and is easy to prepare, taking only about 2 hours to make, even if you start after work. It’s a simple yet delicious bread – perfect for breakfast with jam or butter.
Start your day with the rich aroma of milk pull-string sweet bread. I made a batch of milk bread, improving the recipe and steps, using half a box of milk. The texture is soft, moist, and not greasy, all filled with the flavor of milk. It’s a bread that is perfect in terms of appearance, nutrition, and taste. I baked 8 at once, and only 5 were left after they came out of the oven, so I quickly took photos. My daughter said it wasn’t enough and she wanted more.
This time, I brushed egg wash and made cuts in the bread before the third fermentation to allow the bread to rise larger and the cuts to open wider during fermentation. If you apply egg wash after fermentation, make cuts, and sprinkle coarse sugar, the cuts will not open as wide after baking.
Step 18: Preheat the oven to 180 degrees and bake in the middle rack for 15-20 minutes. When the bread is taken out, you will see that the cuts have opened significantly. Step 19: A milk pull-apart sweet bread that combines appearance, nutrition, and health. Step 20: A bread that is perfect in appearance, nutrition, and taste. Step 21: Suitable for both afternoon tea and breakfast. Step 22: The pull-apart texture is very delicate, moist, and soft. Step 23: The pull-apart texture is very delicate, moist, and soft. Step 24: Suitable for both afternoon tea and breakfast. Step 25: A bread that is perfect in appearance, nutrition, and taste. Step 26: A beautiful day starts with a rich milk pull-apart sweet bread. I made a batch of milk bread, improved the recipe and steps, using half a box of milk, resulting in a soft and moist bread without being greasy, full of milk flavor. It can be considered a bread that is perfect in appearance, nutrition, and taste. I baked eight at a time, and there were only five left as soon as they came out of the oven, so I quickly took a photo. My daughter said it was not enough and she wanted more. Step 27: As an in-between snack during online classes, my daughter couldn’t stop eating it.